
A tutorial how to make this cute fluffy craft

you can download the pattern from RevoluzZza here

Start with the cloud: Cut it out and pin it on the fabric you like and cut along the pattern – put the fabric double so the front and the back will be even. No additional seam allowance necessary.

Later we will close the cloud by hand with the so called mattress stitch –
and to do this we have to spare a part that we won’t sew together with the machine.
This part you have to neaten on the front and the backside with a zigzag stitch.

Pin the front and the back of your cloud fabric together (inside out of course)
and sew it together with a straight stitch. Don’t forget the leave the neatened space open.

Turn inside out.

Fill the cloud will wadding. I usually to do this with a chopstick.

Close the cloud with the mattress stitch.

Do it nice and easy and don’t pull the thread too strong.

This is how it should look like
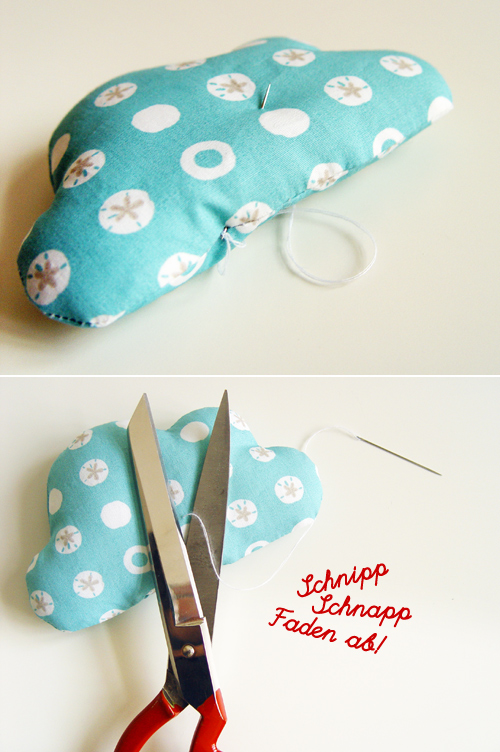
Finally you stick the needle a last time deep into your cloud,
pull it out and cut the thread. And that’s it already!
It's a nice and easy tutorial, show the results of this tutorial
by posting it here
No comments:
Post a Comment